


One of the best Halloween costumes is the illustrious walking dead – the zombie, and there are loads of ways to do it. You could go the easy route and buy a mask or full costume (we have you covered if this is the path you wish to take). The other option is that you do it yourself, fully become the character and dab on a little bit of paint.
Makeup is similar to the costume option – there are loads of ways to do it. With zombie makeup, it all depends on what kind of walker you want to be and how dedicated you want to be with it. Take the descriptions as a couple of beginning steps that you can take forth and elevate, change and make entirely your own!
PAINT ALONE
This option is undoubtedly the safest and easiest option. Painting a zombie on your face or on any one else’s is pretty easy – you just have to be sure where the hollows and high-points of the face are. Contouring at it’s finest!
FLESH-TONE
So let’s take a simple, classic look – the sickly and bruised and sunken look. This one is probably easiest for most people as it can be created using the items most makeup users have around the house. Most makeup wearers have an eyeshadow palette that has purples, blues and greens inside, a pot of black eyeliner, foundation, a highlighting concealer, contour powder, a red lipstick or lipgloss (for any blood you wish your zombie to have on their face), and a washable, non-toxic glue stick. A colour-correcting cream palette would be helpful too, but only if you have it. If you don’t have any of these products, that’s cool! Just pick up some face paint and you’re good to go!

You may be wondering why the glue stick, and the glue stick is the block out your eyebrows. Yeah, it sounds odd and feels odd to do (from personal experience) but this will completely transform your undead alter ego from great to amazing. By blocking out your eyebrows, you can emphasise your brow bone and make it seem heavier, akin to Michael Jackson’s Thriller makeup. There are plenty of tutorials on youtube but it’s a fairly easy process which will only take around 10 minutes if you have everything at hand. The most crucial part of this kind of zombie is that you blend the contour and make the highlights sharp. If either contour or highlight isn’t sharp, it’ll take away the jarring look you’re trying to go for and leave you looking a little muddy.
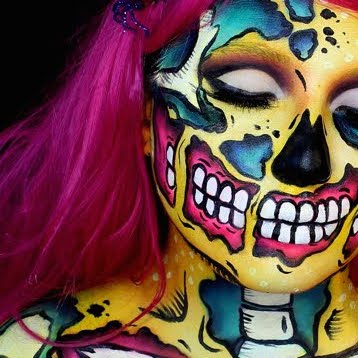
BRIGHT
The flesh toned zombie is a great choice because it is so famous. It’s a classic but it’s a classic for a reason – it’s been done before. You might want to change it up a little and we at MorphCostumes think that the best way to put a spin on a classic is to make it a bright one. Who doesn’t love a blindingly vibrant flesh eating nightmare?! This one doesn’t have to be as detailed in terms of contouring as the flesh-toned. With the Neon zombie you can complement a colour for contour and it doesn’t need to be blended or shaded, but you can if you like. The Bright Zombie can be as detailed or as simple as you like and in this kind of zombie, visible eyebrows can look incredibly cool. The difficult part of this costume is getting your hands on a good, bright body paint but we probably recommend water activated paints. Water activated paints are perfect for this look at they are incredibly easy to blend and build up to a wonderfully opaque colour.
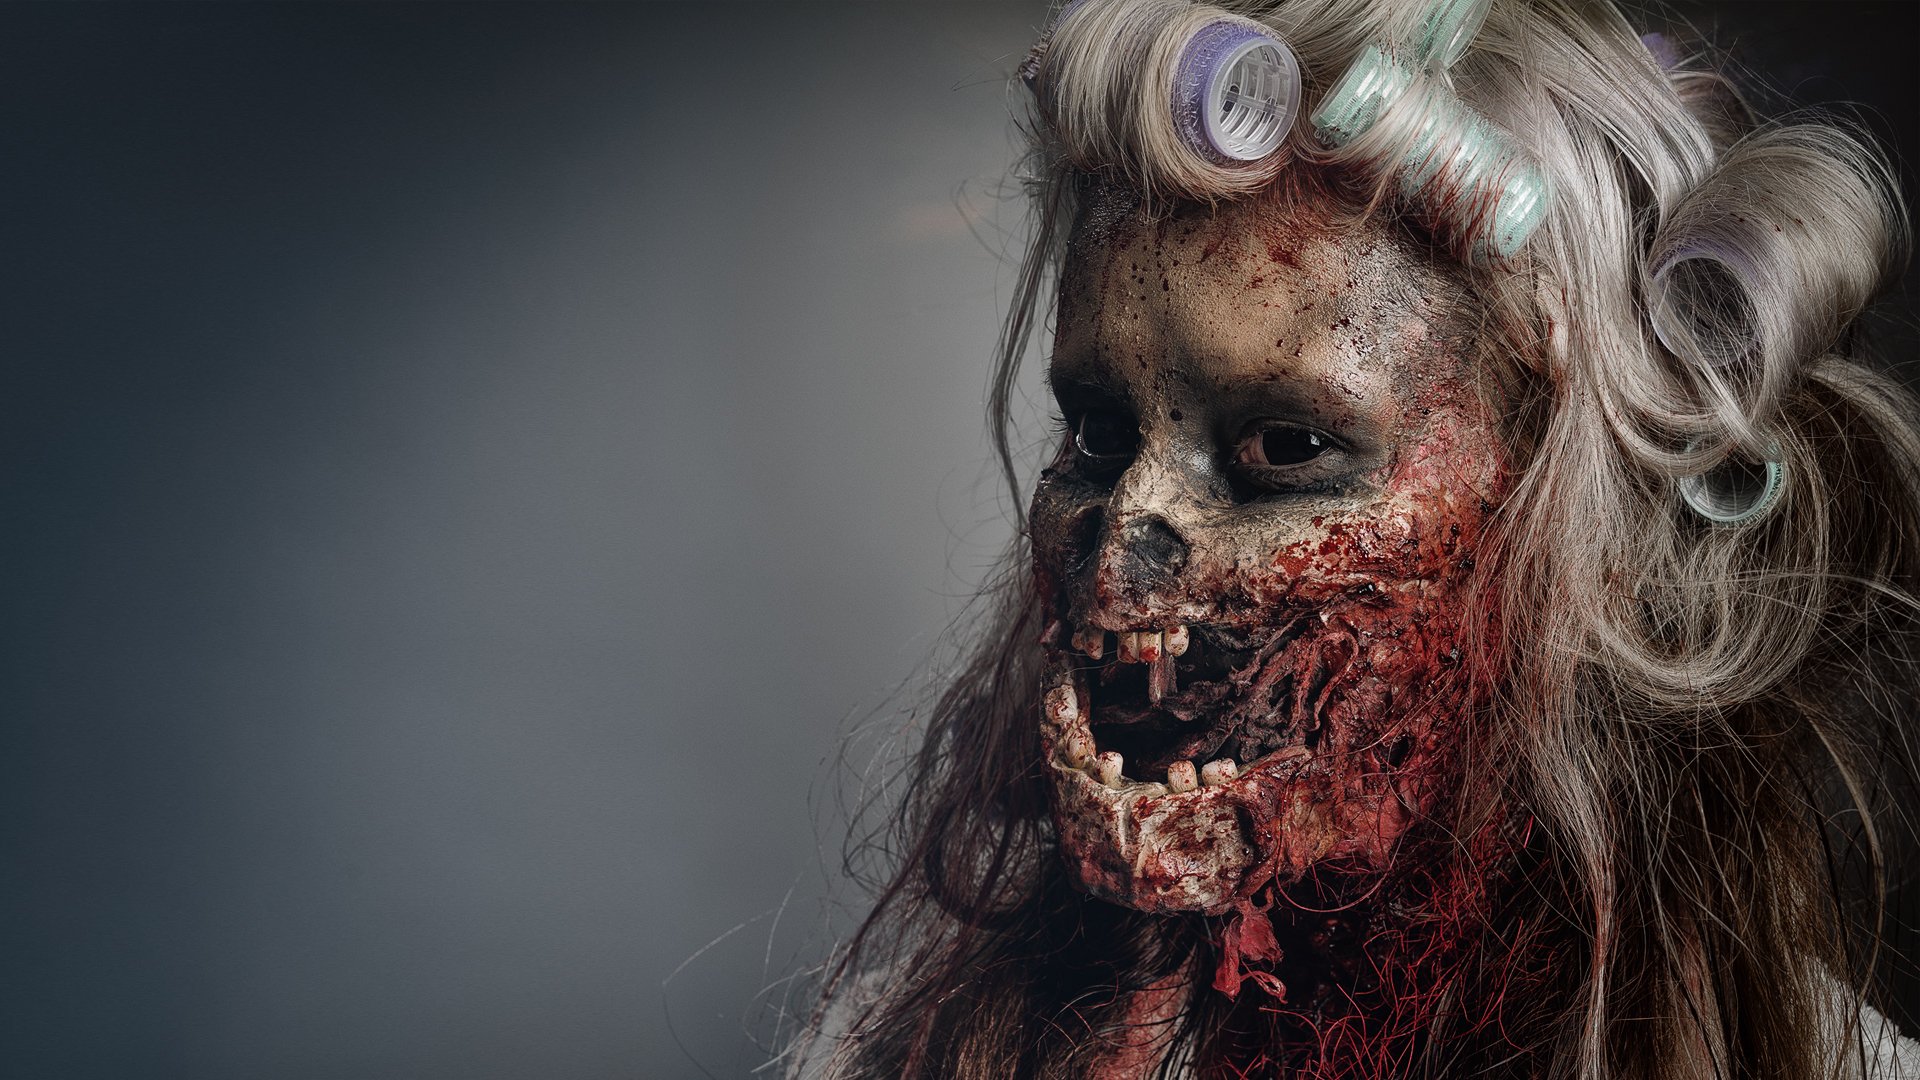
LATEX
This one is for the people who have time to devote to their zombie transformation. Liquid latex is used universally by professionals due to its malleable consistency in both its liquid and paste forms. However, latex allergies are pretty common so please carry out a small patch test on the inside of your elbow and behind your ear a few days before you put it all over your face. Don’t particularly want that allergy unexpectedly flaring up! Liquid latex is easy enough to find online and then you can get to work. Arguably, the best way to use latex is to layer pieces of thin toilet paper or cotton wool with the liquid latex and then repeat this process until until you have your desired effect. Latex FX are fine to paint over with alcohol activated paints or cream-based/grease paints as they will not slip off of the latex, unlike water-activated paints.
The best way to find out how to use latex in makeup is to watch, learn and try it yourself! Just to note, if you are planning to put the latex over your eyebrows, you’ll need to protect them with a little bit of vaseline or something similar. That’s if you want to keep them, we think you’d look rather fetching without eyebrows.
GELATINE
This is the way to go for those who are allergic to latex but want the dramatic effect of using latex. Gelatine is the most common substitute for liquid latex which is more cost effective, more readily available and some artists prefer to use it due to its non-toxic properties. It’s easy enough to make, you just have to beware of the temperature. The best tutorial for making the latex substitute is actually for making a gelatine heart but the base is still the same. You can use gelatine the same way you can use latex (with a layer of gelatine, a layer of cotton wool, then another layer of gelatine) or it can be applied to the face on its own while still warm. This will cause it to drip, making your zombie face look like a melted, undead Action Man. Similar to latex, it’s best to use alcohol-activated makeup or cream/grease based paints on this form of SFX. Basically if you’re unsure what makeup will stick on your new decaying face, you will not go wrong with grease paints!

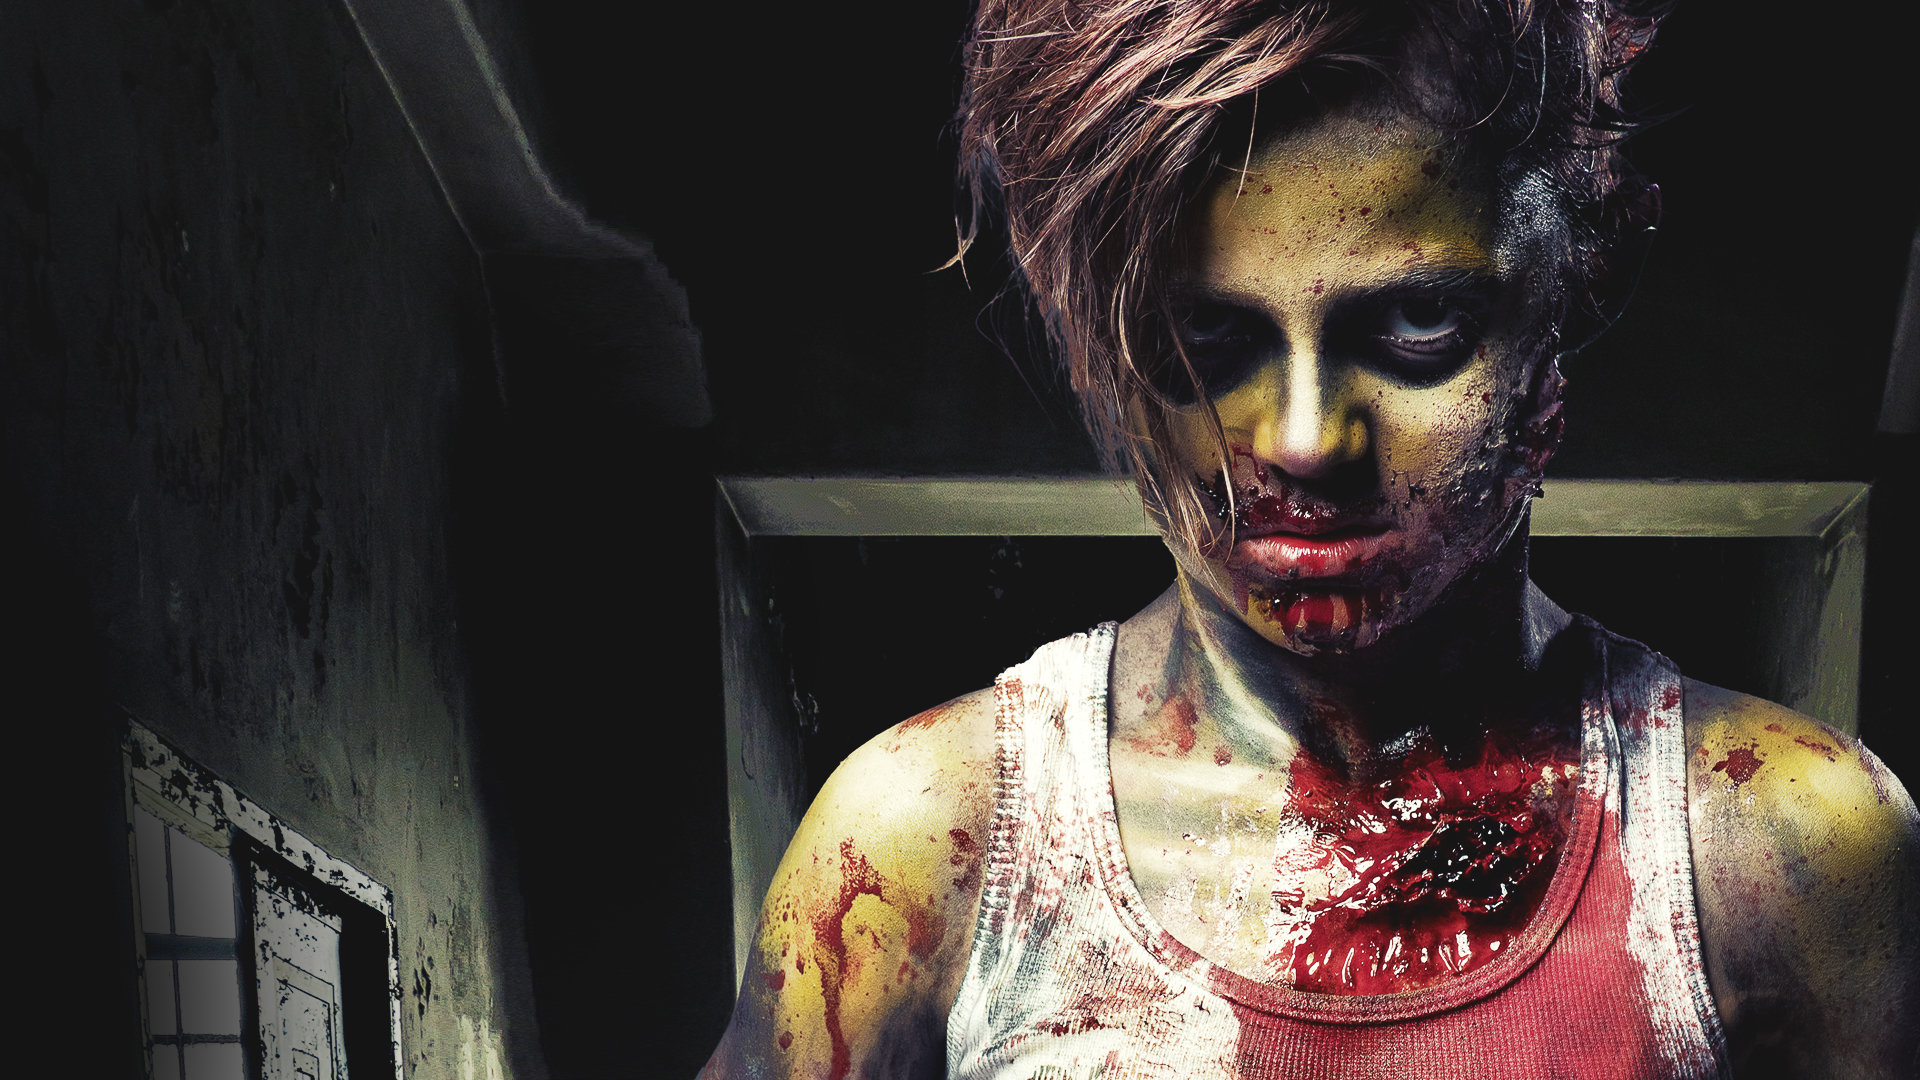
PROSTHETIC
Many would view this as an easy method but again, it depends on what you’re wanting. You can buy pre-made prosthetics and transfers which are awesome and great for the person who is a bit scared to use lots of liquid latex or make their own in the worry that something will go wrong (we’ve all been there). They range from prosthetic eyes, bite wounds, jaws, mouths, brow bones, and many many other wounds. You can buy them online (through us at MorphCostumes), and they will usually be either latex, gelatine or skin-safe silicone. Another really cool crawling corpse form is the zipper-face zombie. This one really became popular in the last five years or so and we love it. It’s a simple and easy route to an unsettling costume that will definitely receive some compliments! A good way to adhere these kinds of prosthetics to the skin is to use Spirit Gum. Spirit Gum is an alcohol/resin adhesive that is used in advanced makeup to fix wigs and such to the skin. It’s easy enough to remove too, either with a Spirit Gum remover or with rubbing alcohol but we do recommend the prescribed remover. Prosthetics can be homemade too using a latex paste, and applied with some liquid latex. This is a really cool way to go because it’s personalised for your body and can look just the way you want them to look.
If in any doubt, we recommend checking out the YouTube channel of Elli Macs SFX. She is the queen of latex and her tutorials are very easy to follow (if you couldn’t tell we are a big fan of her work as we linked her stuff loads of times in this article alone). See her Zombie Boy tutorial using her homemade prosthetics here.
REMOVAL
Now this is the important stuff. Do not pull latex or prosthetics off of your skin without a dedicated remover. Pulling it off without a remover will hurt. A lot. There is a rubbing alcohol called Isopropyl Myristate – sounds scary we know – that will help you remove any latex or glue you used to adhere the prosthetic. Isopropyl Myristate is an oil and alcohol based remover that is fine to use on the skin in small amounts. Spirit Gum has a remover but Isopropyl Myristate works on that too should you not have it. Once the latex or prosthetic is all removed and you’ve had a shower and such, put on a heavy-duty moisturiser/body lotion. Because you are using an alcohol based remover on your skin, it will be incredibly dehydrated and no matter how fun and impressive your Halloween costume was, dehydrated skin isn’t.
And so, now you know a few of the options that could completely transform your 2016 Halloween costume. From pretty painted zombie lady to creepy undead lad, you and your whole family are all set to give in to the primal instinct. Let us know if you used any of these tutorials in your next voyage into the world of the undead, we’d love to add you to our Inspiration pages!
